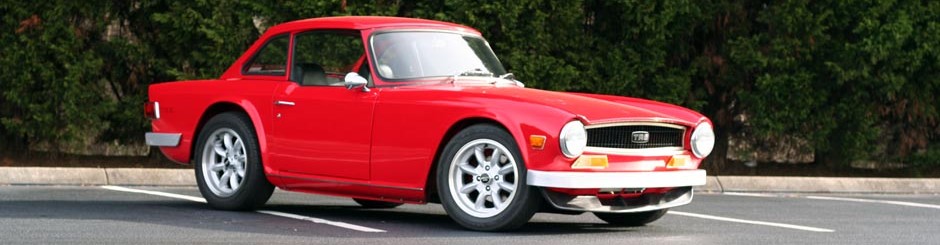
Back to bowtie6’s birthplace for a few suspension tweaks..
First a Little History
If you look at enough TR6’s as I have through the years, you will notice very few (if any) have consistent gaps between the fenders and doors. To help solve this problem, factory workers at the Triumph factory, added spacers between the TR6 body and the frame. Quality back in the UK in those days was not great and on top of that, after years of use the frame would sag and the gaps had a tendency to get really bad. Next time you go to a car show, pay close attention at any “original” TR6’s and you’ll see what I mean.
When Jim and I worked on fitting bowtie6‘s body shell on the new frame, we took a long time carefully fitting the body shell, fenders, doors, bonnet and boot lid. I remember we actually spent HOURS doing this. The effort was well worth: all body gaps came out very consistent. The downside was we had to make thicker body-to-frame spacers for the rear half of the car. This essentially slightly “bent” the body and caused the rear half of the body shell to come up and thus exaggerate the distance between the rear tires and the rear fender.
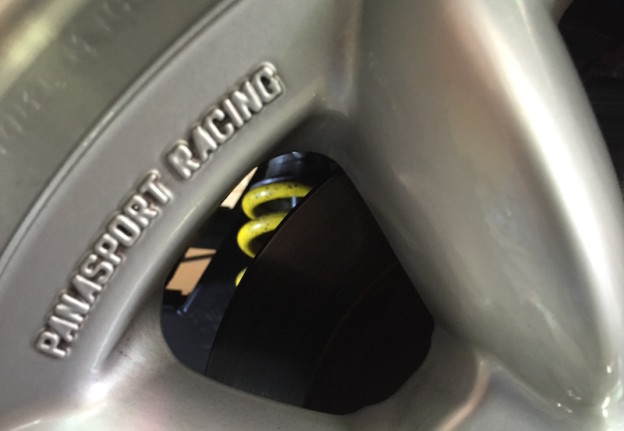
My first set of tires on bowtie6 consisted of four Kuhmo 215/55 tires mounted on those sexy Panasport wheels. The rears fit just fine; however the edge of the front tires rubbed the edge of the front fenders. I really didn’t any body damage so I found a pair of matching 205/55 tires for the front. This solved the rubbing problem.
But since building a custom car is not an exact science and one must make compromises, this resulted in the car having a bit of a “rake”. Not too bad, but when looking at bowtie6 from the side, one would notice the rear tire and fender gap was not ideal. As a matter of fact, I remember my friend Michael reminding me the rear suspension needed some tweaking.
“Drop it down an inch”, he said. Yeah, umm-hu.
New Tires
As noted in a previous blog article, this summer I bought a new set of tires. This time I ditched the staggered sizing in favor of a square setup: I bought from The Tire Rack, four 205/55 Yokohama summer-only tires. Well, with the different tire height (remember, we went from 215/55’s to 205/55’s) the rear fender gap got really bad.
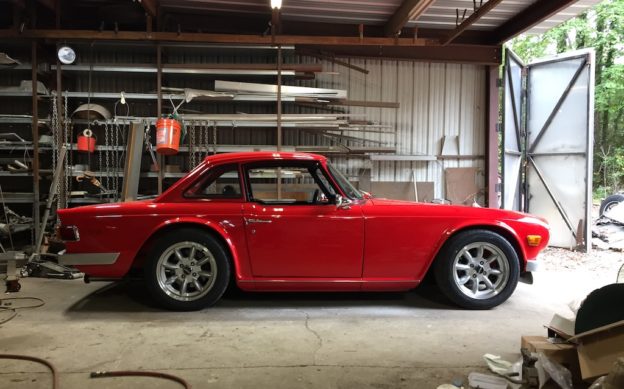
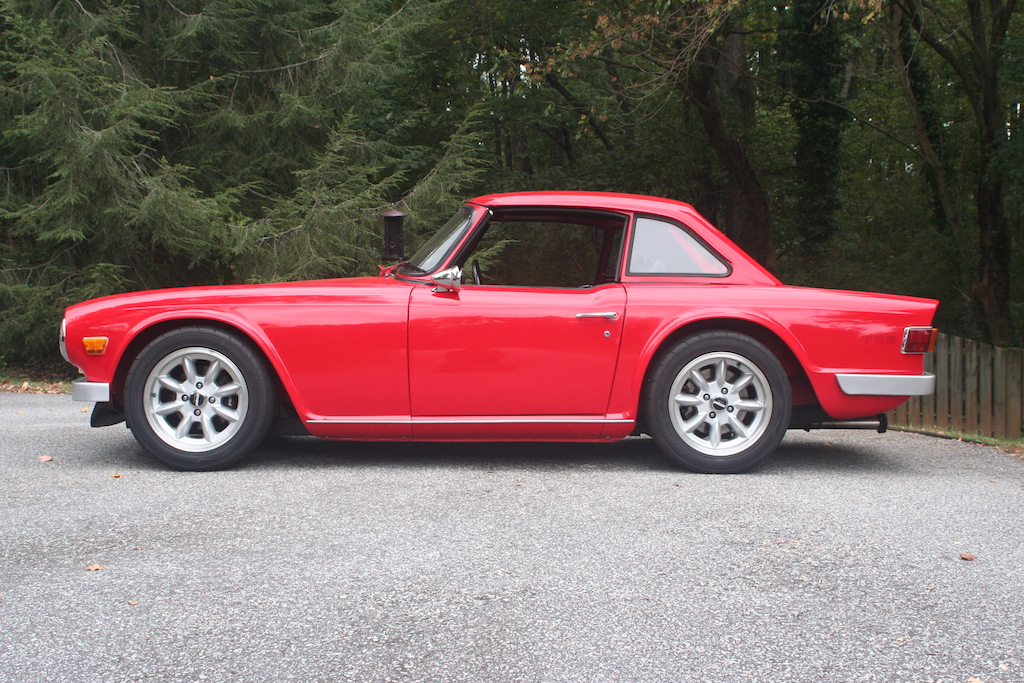
Before… (for the “after”, see the last photo at the bottom)
See what I mean? The rear gap was not quite right. Well, I was not about to go digging out the body/frame spacers because this would throw the body gaps all to hell. Fortunately, Jim was able to come up with a small but effective solution to the problem.
Solution and New Stance
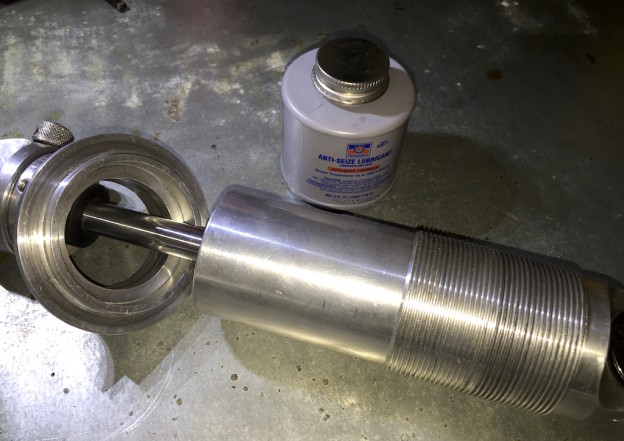
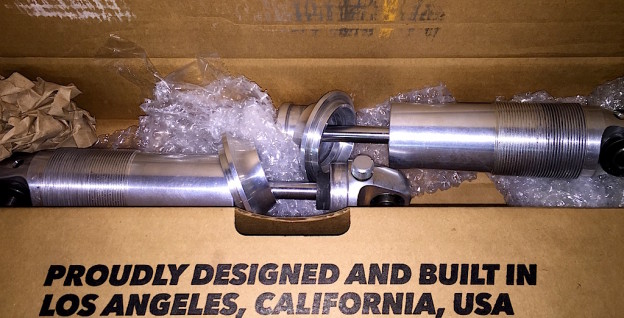
 When Jim modified the rear axle to handle the coilovers, he made vertical mounting pads for them to bolt on to. You can see the outline of the pads in the photo above. Today, we took all this apart and added an extender to the pad. This extender basically moves the axle about an inch upwards.
And the result is amazing!
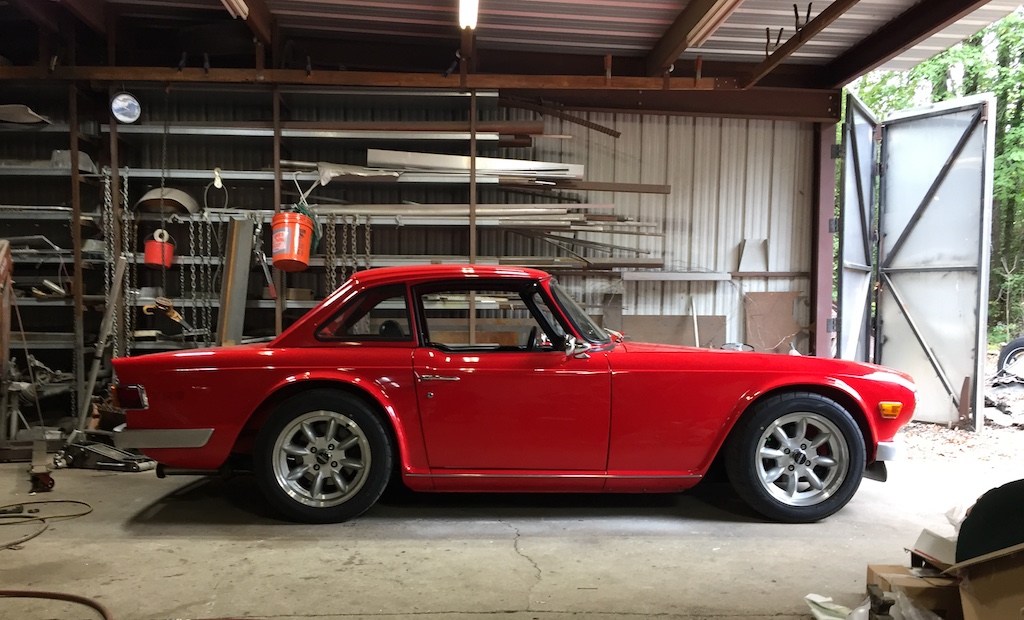
Before the tweak…
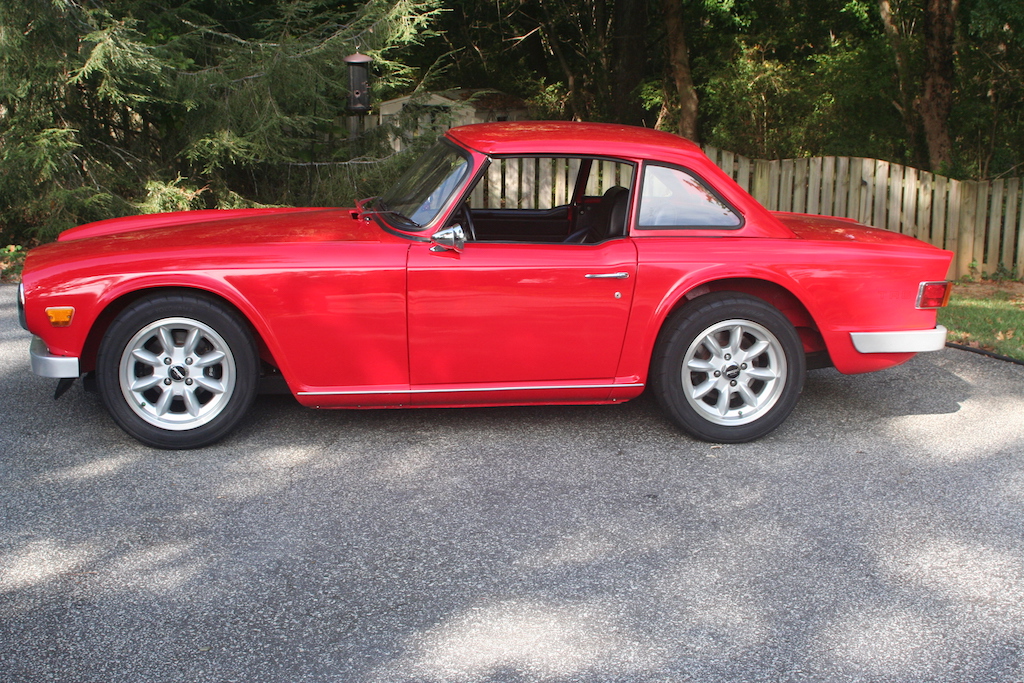
After the tweak…
And there you have it! The rake is almost gone. Jim and I measured the end result and there is about a quarter of an inch difference between the and of the front fender and the start of the rear frame along the center of the body shell. The gap has been reduced dramatically and overall bowtie6 has a much more refined stance.

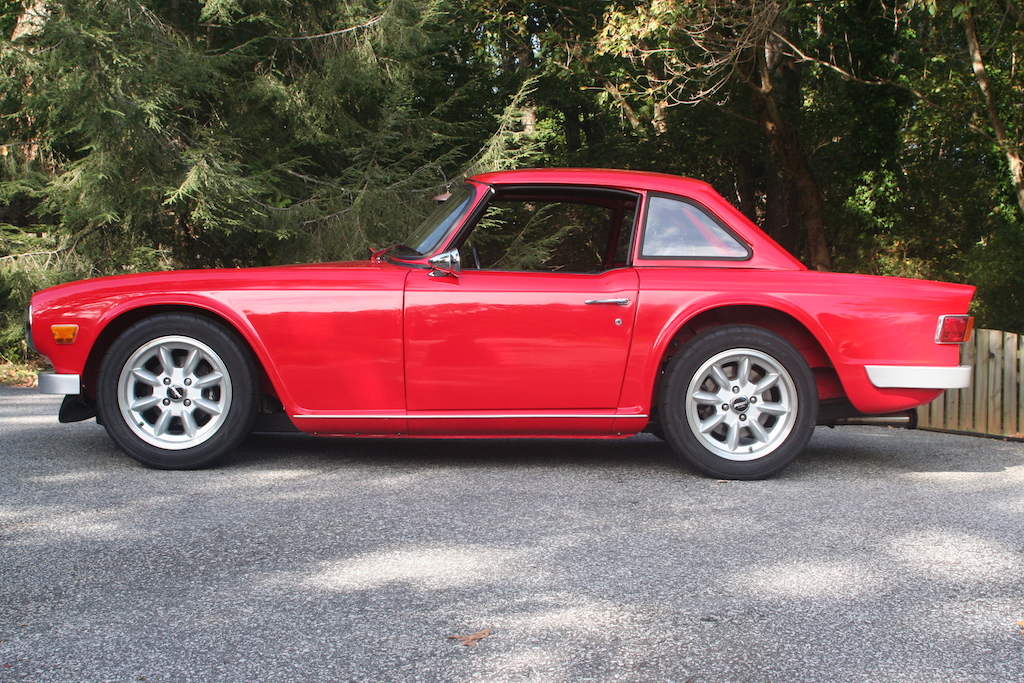
Before…

After…
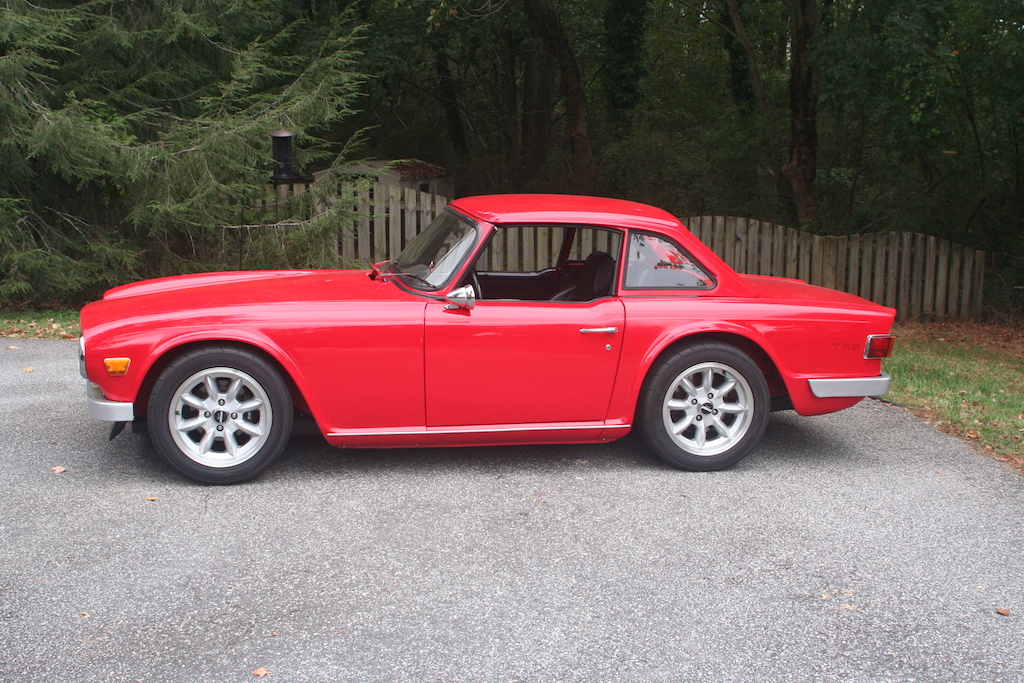
After… (see above for the “before” version)