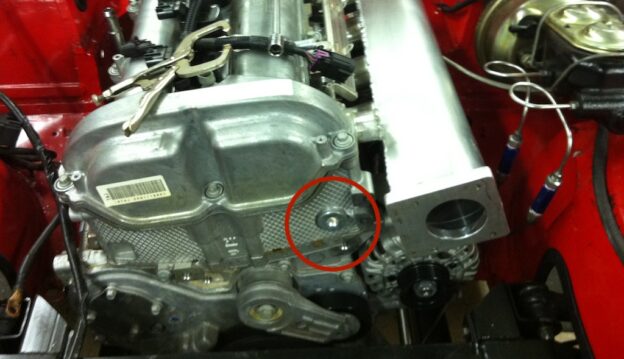

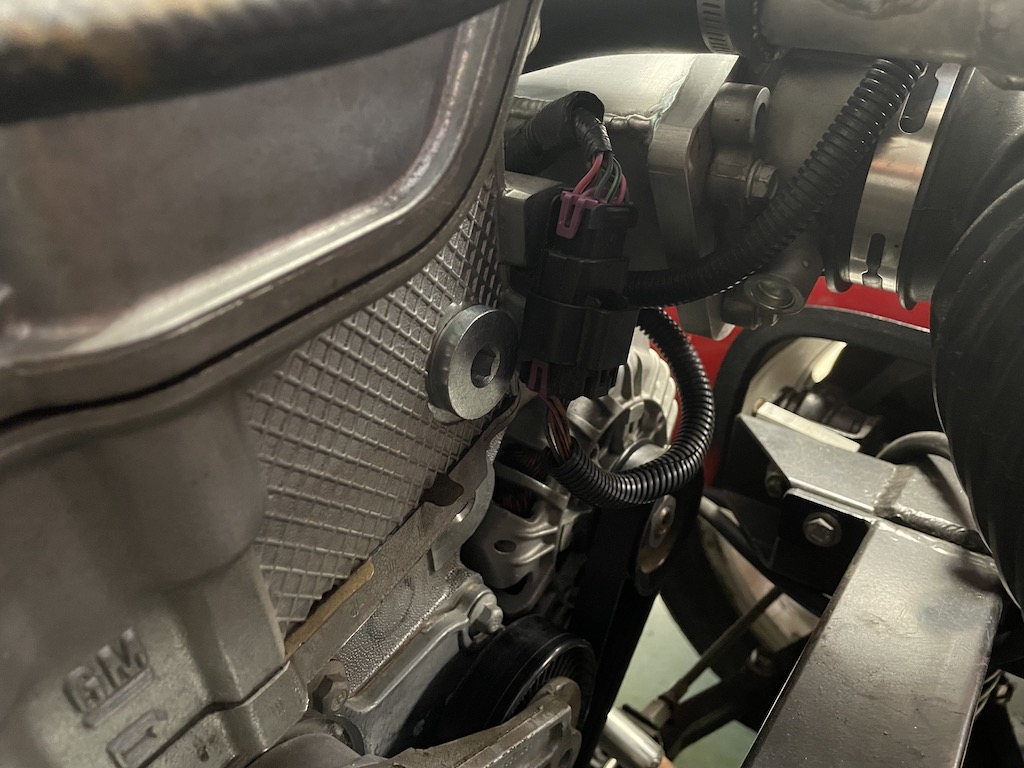
Timing chain guide bolt cover (circled in red)
The other day, I found an article about the poor design of the Ecotec timing chain guide bolt. Specifically, how prone the bolt is to backing out. In extreme cases, the bolt can get tangled in the timing chain and shear off. Needless to say, having bolt fragments fall into the timing chain of a contact engine, could potentially cause rather expensive damage.
If I am not mistaken, the 2.4L Ecotec powering bowtie6 is the same engine currently installed in the Polaris Slingshot – so if you happen to own a Slingshot, then you might want to read on…
The Fix
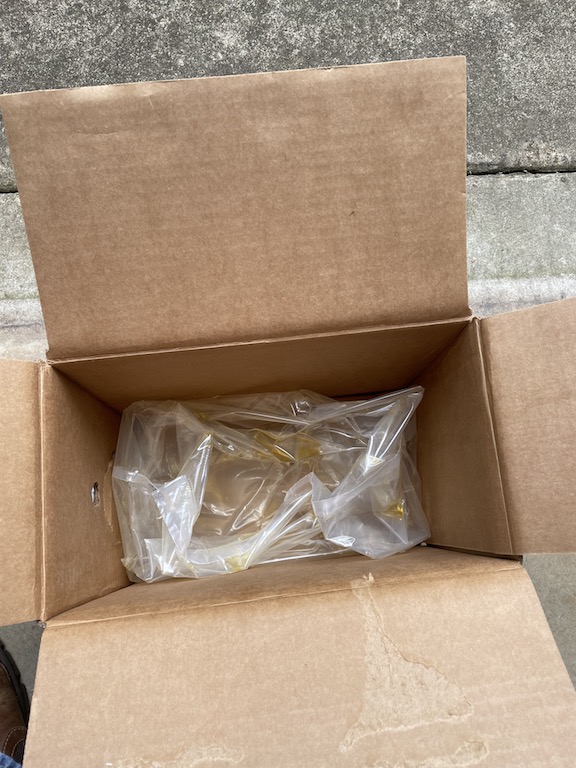
Amazon has the replacement bolt made by Dorman – about $20. Here is what the label on the box looks like:
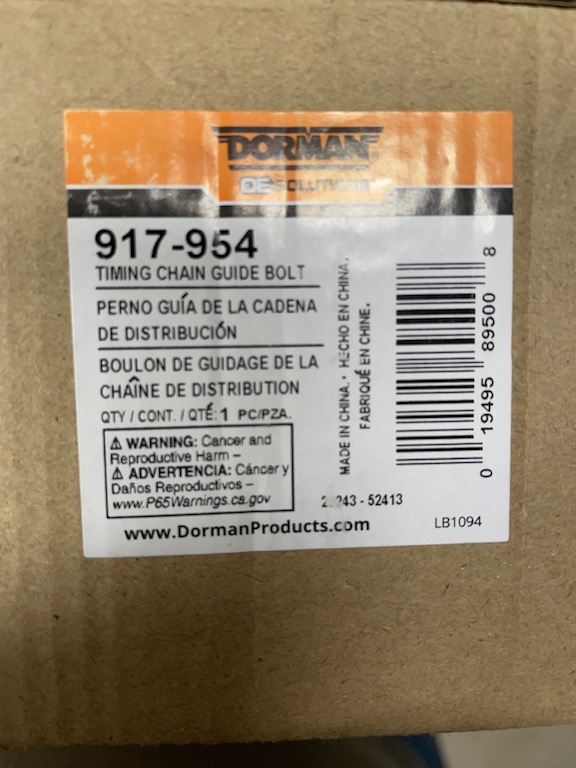
Dorman Timing Chain Guide Bolt replacement part number 917-954
The factory bolt is tiny and you get to it by removing a “plug” on the front of the engine. You can see that cover plug in the top photo on this post (i have added a red circle around it). Once you remove this plug you can insert a long 10mm socket and take the bolt out; be careful though because you don’t want to drop it! This is what the pair looks like once they come out:
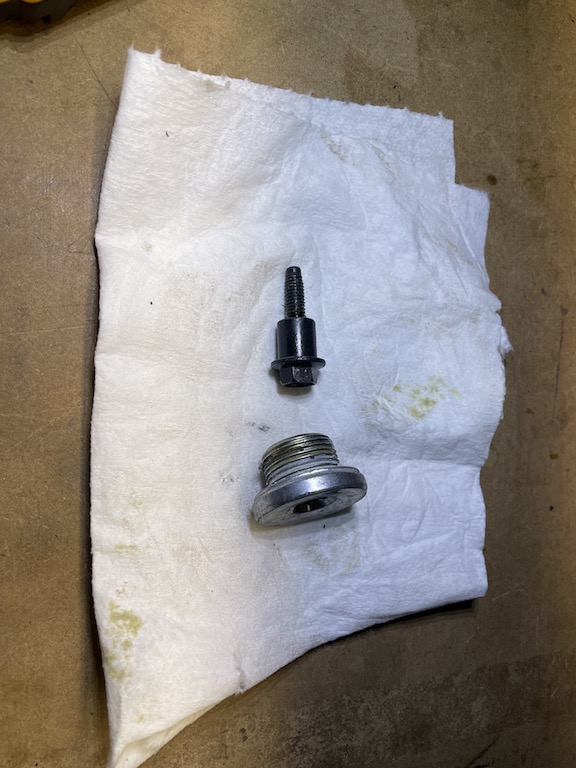
Bolt on the left, cover on the right…
Here is the front of the engine with the bolt cover removed:
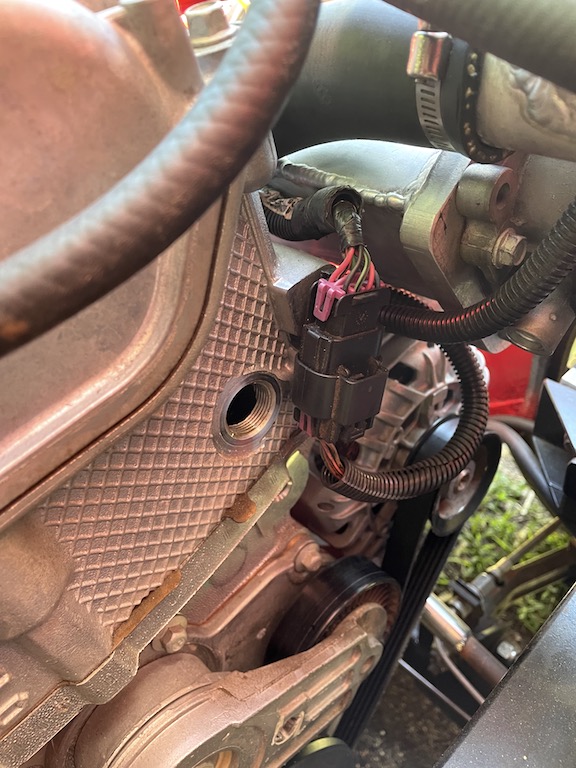
Removed the plug…
And this is what the new bolt looks like:
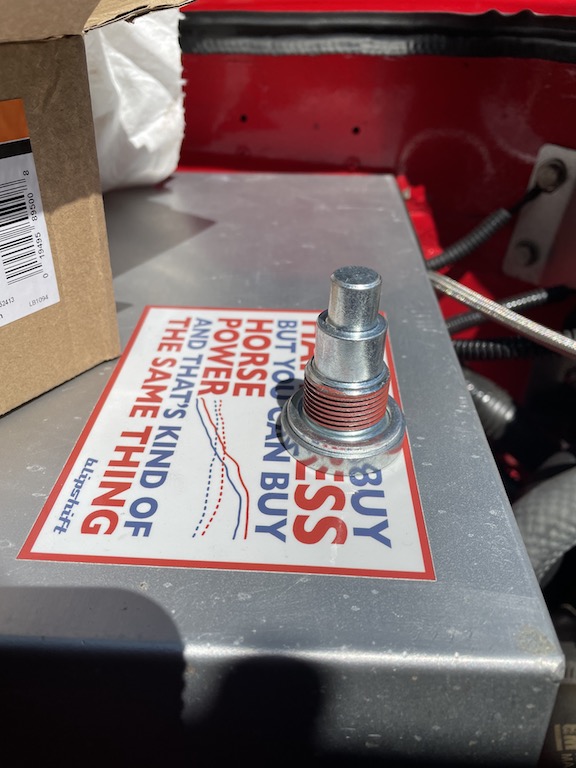
and replaced it with this…
Finally, this is what the new bolt looks like installed:
Replacement bolt securely in place…
Moral of the Story:
When my original bolt came out, it was not exactly “tight”. I am afraid had I ran it longer it would have eventually backed out. And this would not have been a happy time. Some things I have learned from this:
- Replace the Ecotec timing chain guide bolt – it is cheap and it is easy.
- If you own a Polaris Slingshot, do yourself a favor and read up about this. For a mere $20 you will save yourself a lot of grief.
- I wanted to show more pictures of the new bolt but I am afraid of copyright issues. Please, if you have read this far check out the Dorman Ecotec timing guide chain bolt page. There is a wealth of information there; even a video.
- NOTE: I don’t get a penny from Dorman about this I also very seldom endorse folks. But, I have read enough (and watched a few videos) about this kind of failure and figured it be best to do a PSA about the damage potential running the original bolt.
As always, be safe and hope all is well with you. If you have any questions, let me know…